How to Properly Connect Your Roku to TV via HDMI in 2025
Connecting your Roku to your TV via HDMI is essential for accessing a world of entertainment directly on your screen. Whether you’re a newcomer or an experienced user looking to set up a new Roku device, this guide will provide you with effective tips throughout your Roku HDMI setup journey. With the right instructions, you can enjoy seamless streaming and ensure you make the most out of your Roku experience.
Understanding the Roku HDMI Setup Process
The Roku HDMI setup process is straightforward if you follow a few key steps. At the heart of this setup is the HDMI port Roku devices use to connect with your television. First, gather everything you need: your Roku device, an HDMI cable, and a power source. Make sure your TV is powered on and tuned to the correct HDMI input setting. This is typically done through the TV’s remote using the “Input” or “Source” button.
Start by identifying the HDMI port on your TV; this is usually labeled “HDMI”. Next, plug one end of the HDMI cable into the HDMI port Roku, ensuring it’s firmly inserted. The other end should be connected to an available HDMI port on your TV less you encounter an HDMI to TV connection issue. It’s crucial at this stage to confirm the right port is selected on your television as failing to do so will lead to no picture or sound being displayed on screen.
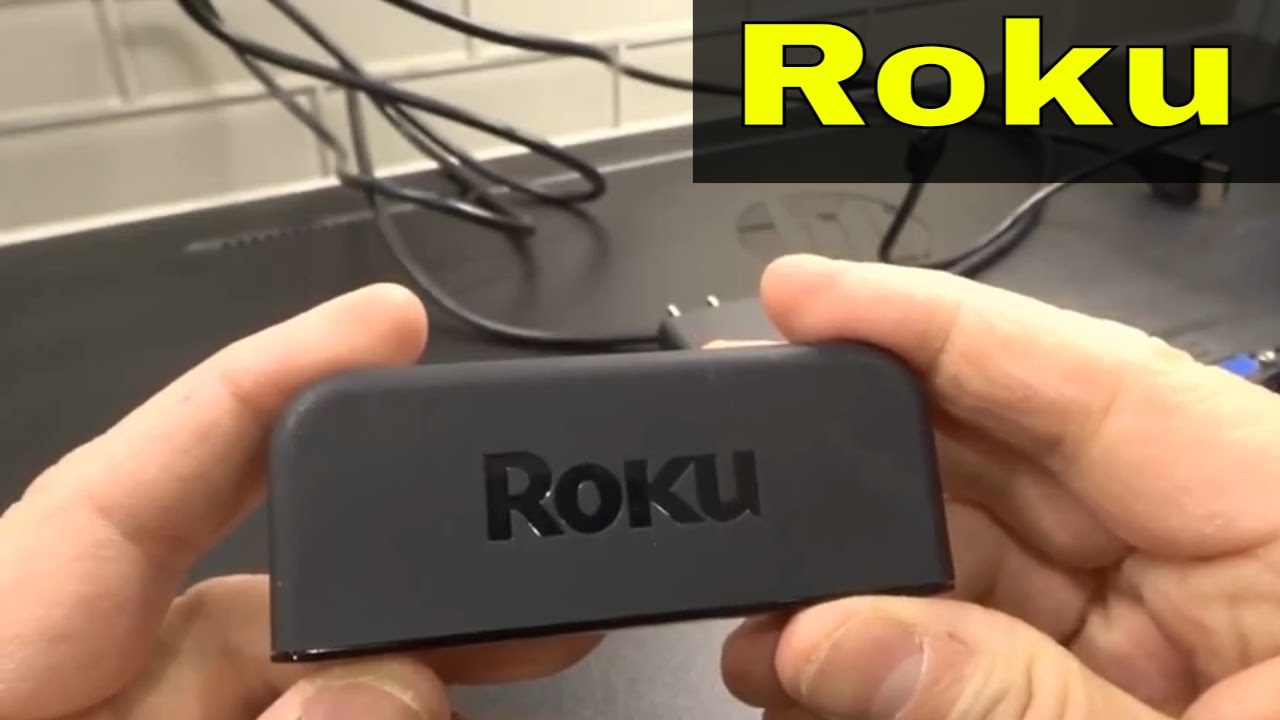
Plugin and Power Up Your Roku Device
Once your Roku device installation is underway, it’s time to plug in Roku to a power outlet using the included power adapter. Ensure the device’s light indicator turns on, indicating that the unit is powered. If your Roku doesn’t power on, double-check the connections and ensure it’s plugged in correctly. After powering up, your TV should automatically detect the Roku signal, provided you’ve selected the correct HDMI input.
Initial Setup and Activation
Your Roku device will prompt you for initial setup. You’ll see a welcome screen, which is followed by options to connect your Roku to Wi-Fi. Follow the on-screen instructions, and ensure you have reliable internet connectivity. Adding your Roku account activation details at this stage is necessary for accessing channels and streaming services. Keep the Roku remote handy, as you will also use it to navigate through the activation phases.
Troubleshooting Your Roku Connection
If you experience issues during your Roku TV connection, it’s important to troubleshoot effectively. Common problems include poor connectivity, unresponsive remote controls, and no signal being sent to the TV. First, check that all cables are securely connected. If you suspect there are HDMI connection issues, try plugging the HDMI cable into a different port on your TV or using a different HDMI cable if available.
Addressing HDMI Troubleshooting
In some cases, the HDMI cable for Roku might be the culprit. HDMI cables can be faulty, or certain types may not support higher resolutions. Ensure you’re using a high-speed HDMI cable that’s compatible with your video requirements, particularly if running a 4K streaming device like the Roku Ultra. This can prevent any distortion or lag in video quality.
Using the Roku Remote for Setup
The Roku remote setup is critical post-connection. If you’ve recently cut the cables with your old remote or quit using it, there is a possibility new updates in software may need to be loaded. Press the Home button to navigate through various streaming options, search channels, or adjust settings. Problems with the remote can typically be resolved with brand-specific troubleshooting approaches found in the Roku user manual.
Optimize Your Roku Experience
<pAfter your initial connection and setup, it is crucial to optimize your experience. Take advantage of the various settings your Roku device offers, including Roku display settings, managing channels, and configuring the app interface. These settings help streamline the process of finding content and can improve the overall performance of your streaming. Depending on your viewing preferences, customizing your account settings allows for a better organization of Roku channels and services.
Configuring Roku for Streaming Quality
One way to strap it up is by optimizing your streaming quality on Roku. Under your settings, navigate to the Roku audio video setup, where you can adjust the resolution based on your TV’s capabilities and personal preferences. Aiming for 4K is recommended if you have the hardware that can support it, enhancing your viewing pleasure significantly. Check your internet speed as well to ensure it meets the requirements for streaming; otherwise, buffering may detract from your TV experience.
Utilizing the Roku Channel Store
Discovering new entertainment options is incredibly easy with the Roku channel setup. Once your connection is successful, access the channel store where you can browse various streaming services including sports, news, and movies. Add channels to your account to create a personalized viewing experience. The more you explore the Roku ecosystem, the more unique channels you’ll find suitable for your entertainment taste.
Key Takeaways
- Verify your Roku device is correctly connected to the HDMI port on your TV.
- Ensure the Roku device is powered and the correct HDMI input is selected on your TV.
- Follow the on-screen prompts for connecting to Wi-Fi and activating your Roku account.
- Regularly check settings and troubleshoot common issues that may arise.
FAQ
1. What should I do if my Roku does not power on?
If your Roku does not power on, first ensure that the power adapter is connected securely to the Roku device and to a wall outlet. Try using a different wall outlet as well. If the issue persists, inspect the power adapter and consider getting a replacement if necessary.
2. How can I troubleshoot HDMI connection issues?
If you’re experiencing problems with your HDMI connection, check that the HDMI cable is firmly connected to both the Roku and the TV. Swap your HDMI cable with another one to rule out cable faults and try rebooting both the Roku and your TV to refresh the connection. Ensure your television is set to the correct HDMI input.
3. How do I set up a Roku device for the first time?
Begin by connecting your Roku to the TV using the included HDMI cable, then plug it into power. Power on your TV and select the appropriate HDMI input, then follow the on-screen instructions to set up your Wi-Fi connection and activate your Roku account.
4. Can I connect multiple Roku devices to my TV?
Yes, you can connect multiple Roku devices to one TV, provided your TV has sufficient HDMI ports. Each device will need to be individually set up and managed through its corresponding HDMI input on the TV.
5. How to ensure the best streaming quality on Roku?
To ensure optimal streaming quality on Roku, access the Roku settings to adjust resolution settings based on your TV’s capabilities. Additionally, running speed tests on your internet connection can help confirm your network is strong enough to support the highest streaming quality.