Effective Ways to Revive Your Sourdough Starter for Optimal Rising in 2025
If you’ve had a sourdough starter sitting idle for a while, you might be wondering how to bring it back to life. Reviving a sourdough starter is essential for anyone keen on baking delicious, homemade bread. An active sourdough starter is the foundation for flavorful loaves, and understanding the best practices for maintaining and revitalizing it sets the stage for success. In 2025, with more bakers jumping into the world of sourdough, knowing how to efficiently handle this process can make all the difference between a lifeless mix and bubbles of yeast activity.
Throughout this article, we will explore the effective methods for reviving your sourdough starter, including specific feeding practices and storage tips. From understanding hydration levels to recognizing the signs of a healthy starter, we’ll guide you through essential techniques that can enhance your sourdough baking journey. You’ll also learn practical troubleshooting steps for common issues. Let’s dive into the art of sourdough starter care to ensure your baking experience flourishes!
Key Techniques for Reviving a Sourdough Starter
Feeding Schedule for Sourdough Starter
Establishing a consistent feeding schedule is vital for the health of your sourdough starter. To effectively revive your inactive sourdough starter, feed it every 12 to 24 hours, depending on its condition. This schedule allows you to monitor yeast activity closely. A good
sourdough starter feeding frequency
will have you observing changes in its bubbles as it becomes more active. You may also consider using a higher ratio of flour to water initially, gradually adjusting as the starter revives.
Understanding Sourdough Starter Hydration
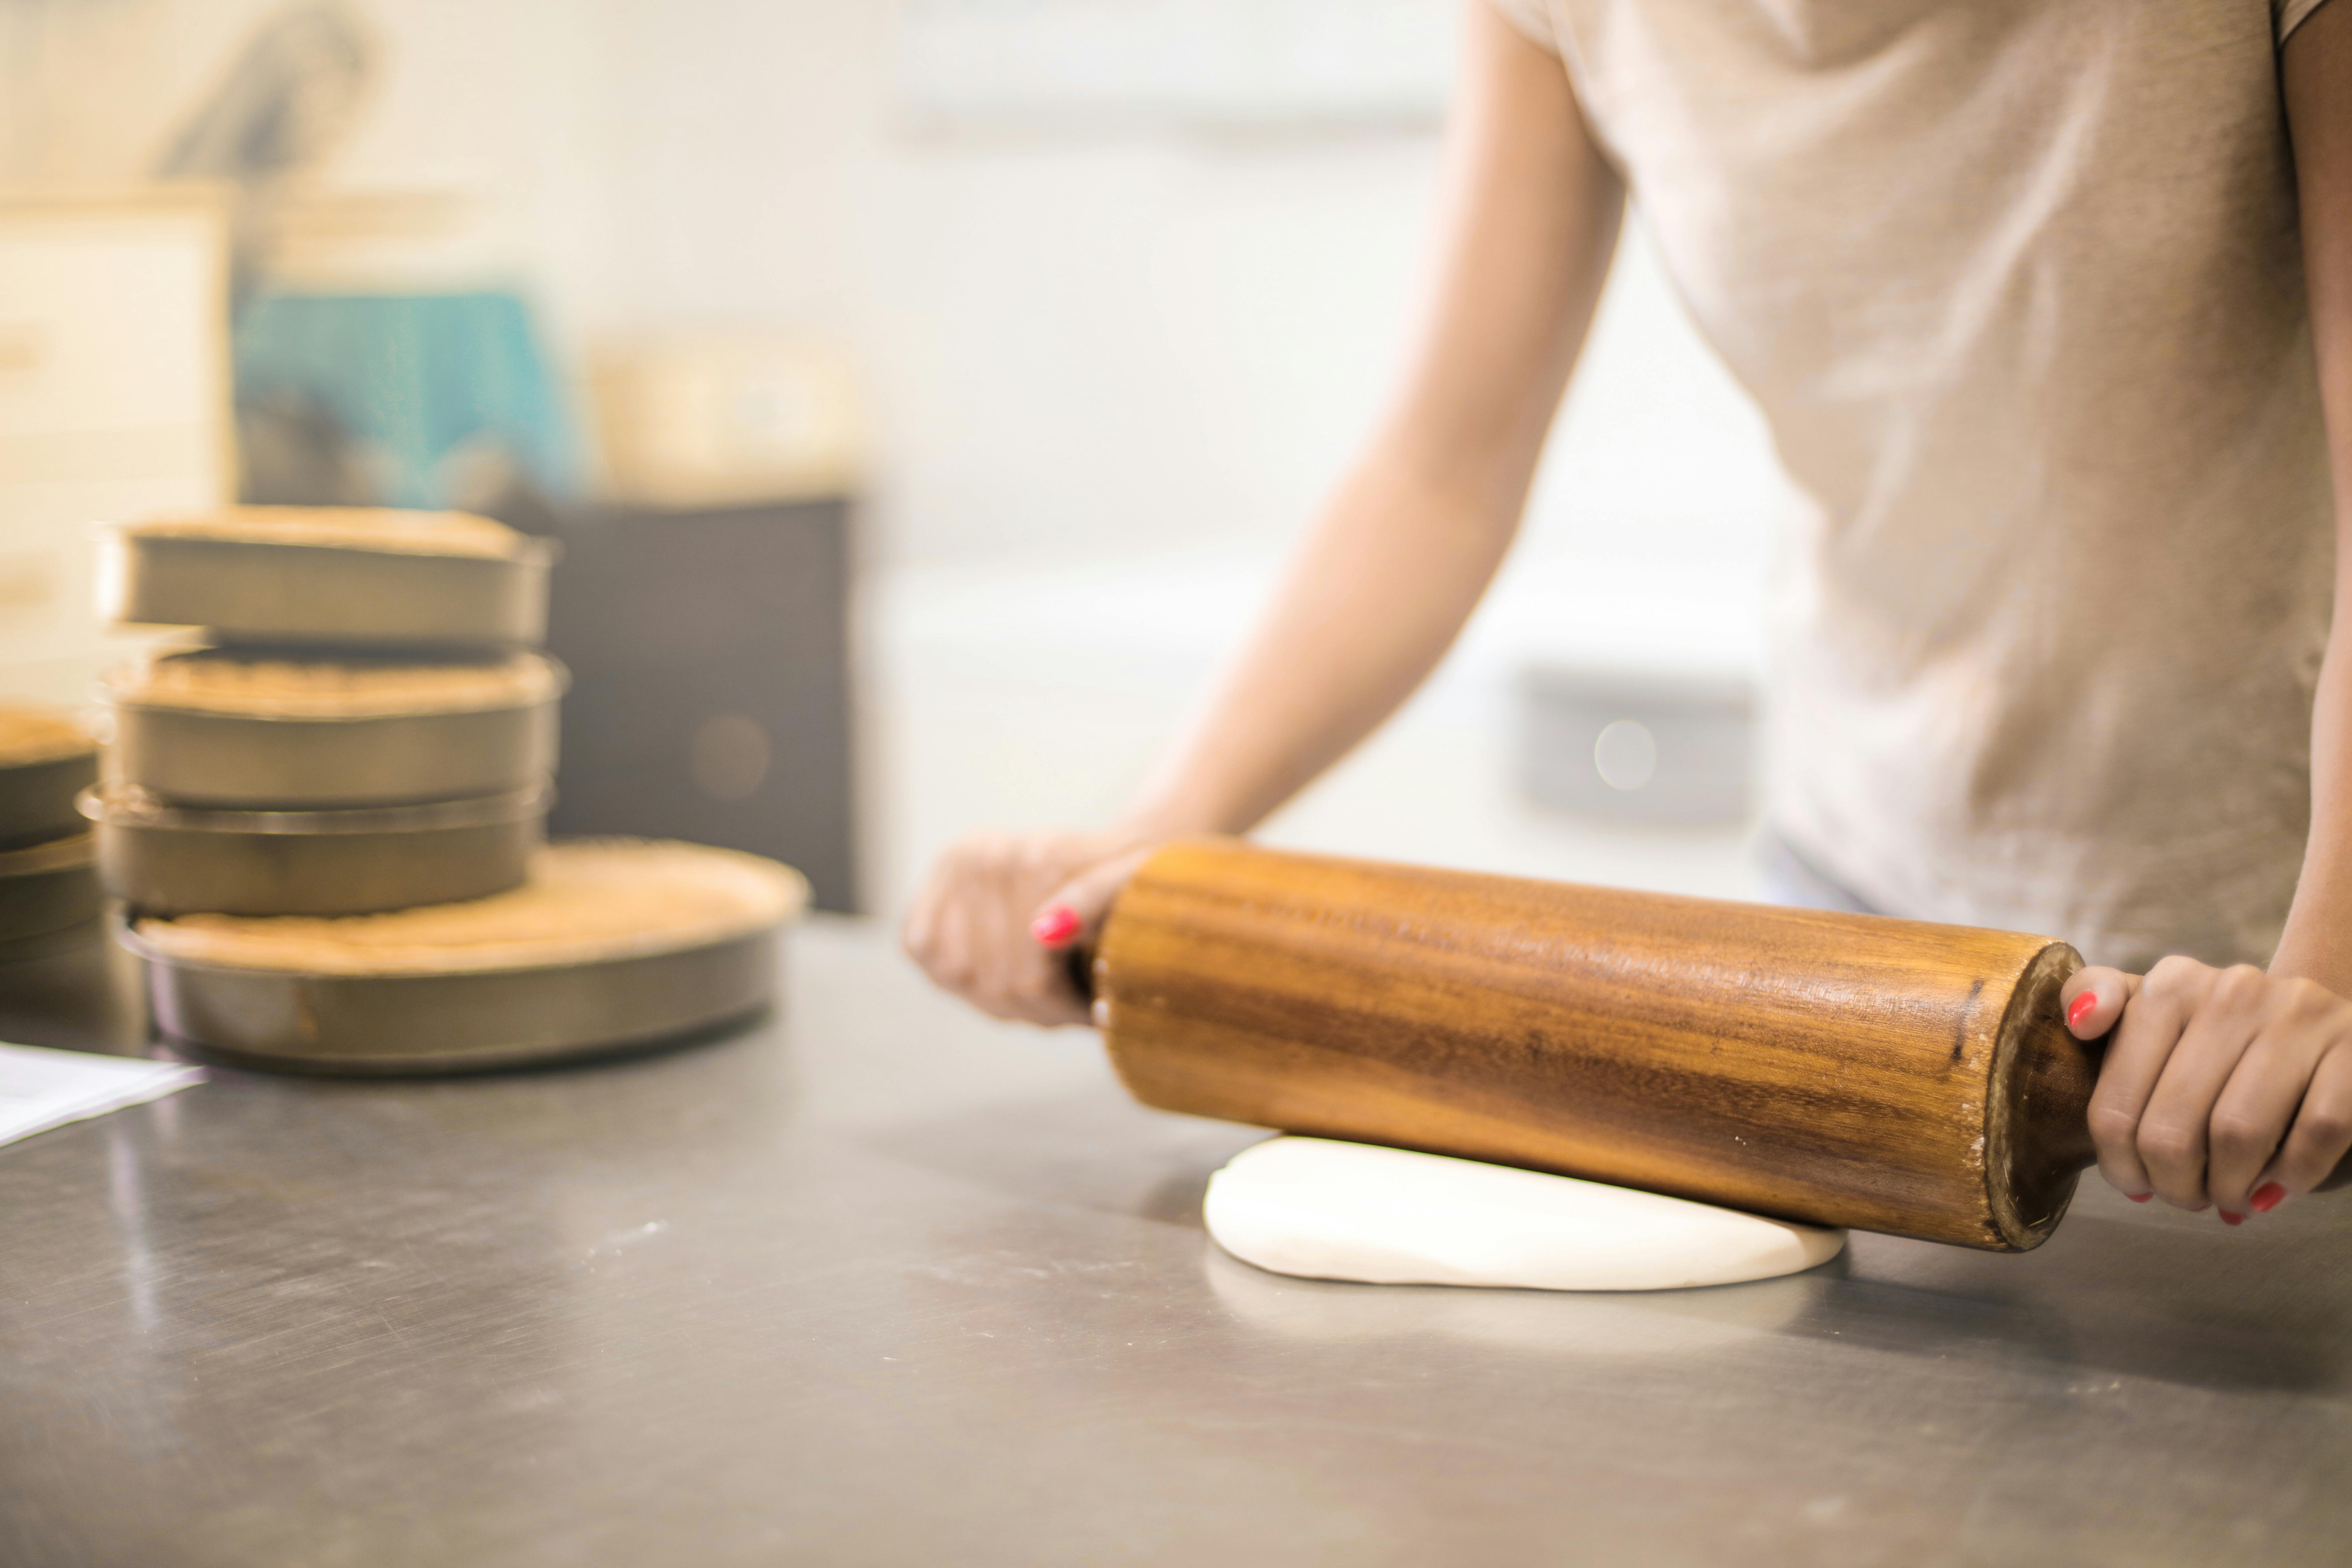
Hydration levels play a crucial role in sourdough starter revival. The typical hydration level is 100%, meaning equal parts flour and water by weight. However, adjusting the sourdough starter hydration can impact the texture and yeast activity. A thicker, low-hydration starter may take longer to rise but can lead to more robust flavors. Alternatively, a higher hydration starter yields a lighter texture. Experimenting with ratios will help find the perfect balance for your starter.
Recognizing Signs of Healthy Sourdough Starter
As you feed your sourdough starter, monitoring its progress is essential. Look for signs such as bubbles forming on the surface or throughout the mixture, an increase in volume, and a pleasant, sour aroma. These indicate that your starter is becoming active. Conversely, a lack of bubbles might signify that your sourdough starter needs more time or a different environment for yeasts to flourish. Understanding these indicators is vital for assessing the status of your starter.
Feeding with the Right Ingredients
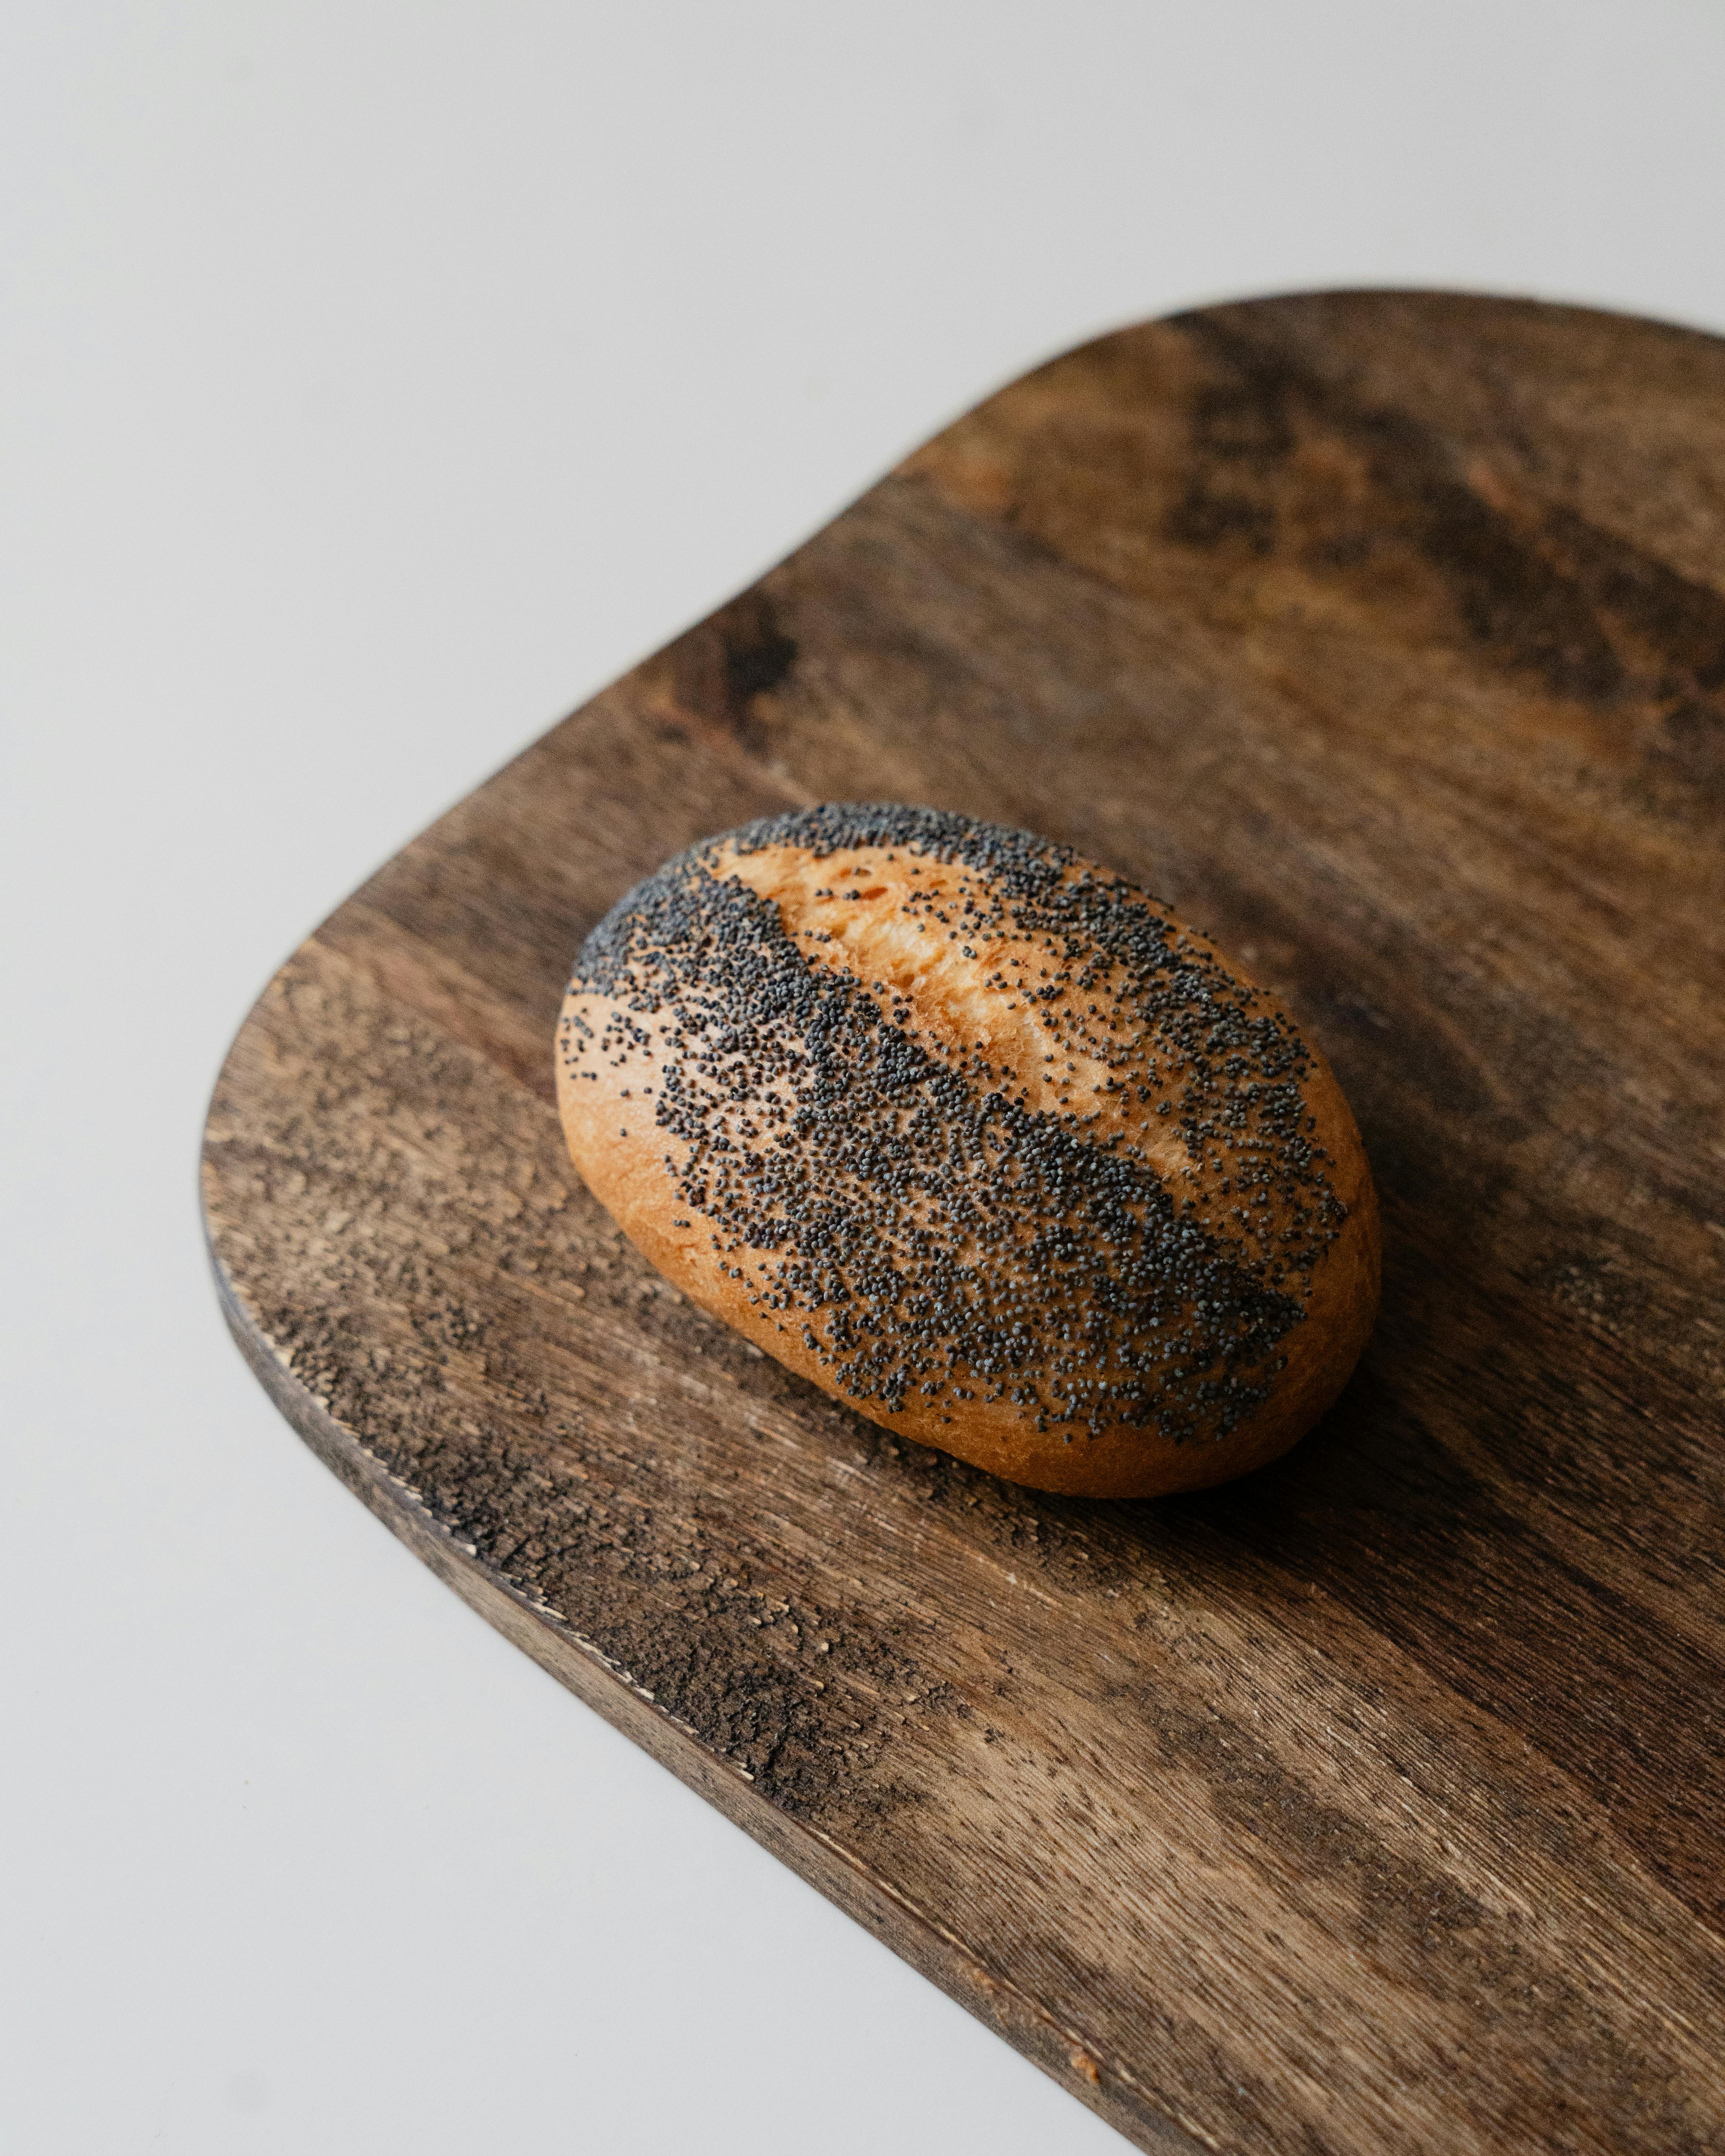
The quality of the flour you use can significantly impact your starter’s health. Choosing the best flour for sourdough starter, like whole wheat or rye, provides additional nutrients necessary for revitalizing sourdough starter. These flours contain higher quantities of essential nutrients that promote active yeast growth. If you’re reviving a dry sourdough starter, make sure to include these flours when reintroducing it to hydration, helping it to bounce back more effectively.
Creating an Ideal Environment for Sourdough
The environment your sourdough starter resides in affects its growth. Aim for a warm area, ideally around 70-78°F (21-26°C), to help induce fermentation. Placing your sourdough starter in a sunny window or wrapping it in a towel can help maintain this ideal temperature. Remember to keep the starter away from cold drafts, which can hinder its performance. Proper temperatures will encourage yeast activity and boost bubbling in sourdough starter.
Reviving Specific Types of Sourdough Starters
Tips for Reviving an Inactive Sourdough Starter
When faced with an inactive sourdough starter, it’s essential to be patient and observant. Begin with simple feedings using the typical ratio, and ensure the starter is at room temperature before feeding. If it still doesn’t show signs of life after several feedings, introduce a bit of fresh flour or consider switching to a different type of flour. Observing the yeast activity is key to determining the progress and next steps.
How to Revive a Dry Sourdough Starter
Reviving a dry sourdough starter requires a gentle approach. Start by mixing the dried starter with warm, non-chlorinated water—this will help activate the dormant yeast. Once rehydrated, follow a feeding schedule by adding flour gradually while monitoring its activity. Be patient; it may take several days for the starter to show the necessary bubbles and rise, but consistency will pay off.
Refreshing Stale or Overactive Starters
If your sourdough starter has become stale or is overactive, refreshing it can restore balance. Start by discarding half the starter and feeding it with fresh flour and water using the standard sourdough feeding process. This refreshment encourages healthy yeast activity and reduces excess acidity that may lead to an unpalatable flavor. Monitor how the starter reacts to these adjustments, and make sure the environment remains conducive to thriving yeast.
Reviving Starter Without Flour
If you find yourself without flour, you can still revive your sourdough starter! Use cooked potatoes or other starch sources to introduce sugars, which yeast can convert into carbon dioxide. After introducing the starch, switch back to regular flour feedings once your starter shows signs of activity. This method is unconventional but can provide a pathway to refreshing a tired starter.
Common Troubleshooting for Sourdough Starters
Identifying Issues with Sourdough Starters
Common sourdough issues include failure to rise, off smells, or discoloration. A starter that fails to rise might indicate insufficient feeding or too cold an environment. On the other hand, an off smell might suggest that yeast or bacteria have become imbalanced. Regularly monitoring your sourdough starter can prevent these issues from becoming severe. Keep an eye on textures and bubbles, adjusting your feeding schedule as necessary.
Resolving Slow Fermentation Processes
If fermentation processes are slow, consider the temperature and quality of your flour. Increasing the surrounding heat can prompt faster fermentation. Additionally, choosing flour with higher protein content often yields better results. Another option is to divide your starter into smaller portions and feed them, encouraging quicker yeast activity.
Maintaining the Right Bread Consistency
A perfect sourdough bread texture often lies in balancing hydration levels and flour types. If your bread feels dense, evaluate your hydration levels; increasing them might improve texture. If it’s too wet, experiment with flour combinations to find the ideal consistency for a soft, airy loaf.
Ensuring Quality in Your Sourdough Starter
Quality control in your sourdough journey hinges on regular assessment. Check for common indicators of yeast health, such as bubbling and smell. Establish also how to identify overactive starters and the necessary adjustments to bring back equilibrium. Consistency in care, monitoring yeast health, and keeping up with a good feeding ratio contributes significantly to a thriving sourdough starter.
Conclusion: Mastering Your Sourdough Starter Care
Reviving your sourdough starter is not merely about good feeding practices; it’s a blend of understanding, patience, and creativity. As you embrace these effective ways to nurture your starter, you’ll develop a deep appreciation for the flavors and techniques of sourdough baking. In 2025, as sourdough takes center stage in many kitchens, your well-maintained and thriving sourdough starter will be the heart of delicious, artisanal bread.
For more tips on understanding sourdough processes, visit our links [here](https://howgeek.info/?p=2205) and [here](https://howgeek.info/?p=2200).